- +44 (0)1279 260 160
- Workshop Visits By Appointment
This is a simple and quick guide to front and rear projector screens giving visual examples with pros and cons of the set-up. We hire screens and projectors, please see our hire section for more information.


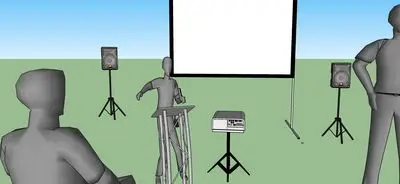
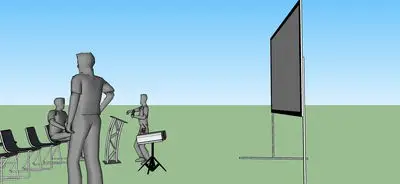
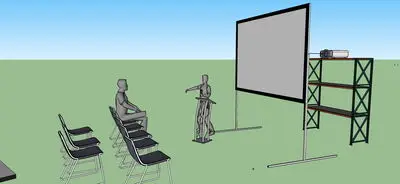
Front Projection is simply projecting from the front onto the screen behind. The screen is solid white and the projector light shines onto the surface and the reflection is seen, this is by far the most popular set-up because it is simple to make the image look right.
Simple set-up
screen can go right up against wall
Reasons why front projection may not work
Presenter can cast shadows in front of the screen when standing in front.
Presenter can be dazzled by brightness
Projector can stick out in room far and take up audience space.


In brighter environments image can be washed out easily
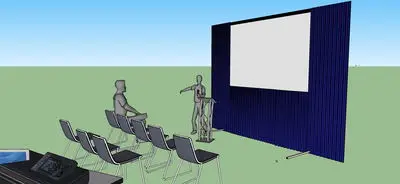
Rear projection screens are translucent like tracing paper and the projected image is absorbed by the screen and shows an illuminated image on the screen. Projector is mounted behind the screen often using a short throw projector or lens to minimise the distance.
Rear Projection is better for the following situations:
Screen has little in front of it so audience can sit right up to front.
Presenter doesn’t cast shadow as screen is lit from behind
Image brightness and contrast can be better in lighter spaces than front project
Reasons why Rear projection may not work well:
screen needs to be positioned away from wall as projector needs generally 0.8x the width of the screen to the depth for short throw lens
If using a standard lens distance can be as much as 1.2 times the width of screen to depth from wall.
Often a more complicated set-up and alignment of projector.